Start Your AN Conversion Here
How to Configure Your AutoPlumb AN Cooling System
Please watch the Adapter Installation, -20AN Hose Assembly, and the Mock Up System videos before proceeding
Common parts used in this conversion are at the bottom of this page. Each conversion is unique, so make sure to look through all the parts, use the templates, and be creative!
Parts required for a full upper and lower cooling system conversion:
- 3x AutoPlumb Water Neck Adapters
- 1x AutoPlumb Thermostat Housing
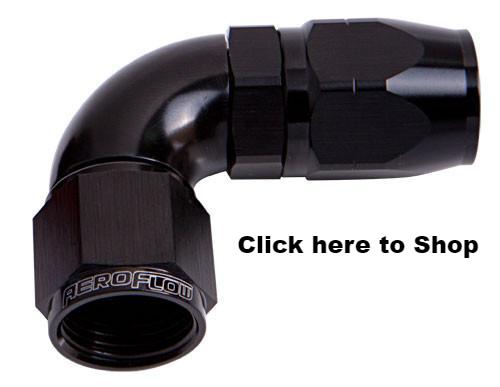
- 4x Aeroflow Hose Ends
- Your measured length of AN hose
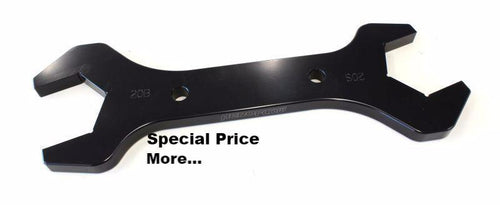
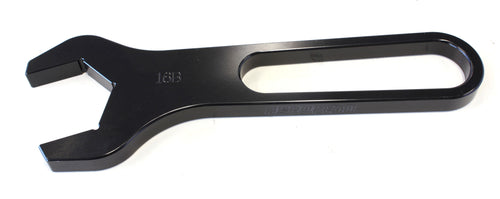
Tools Required:
Mock Up Instructions:
- Measure your radiator/pump's water neck O.D using calipers behind the raised bead to determine which radiator/pump AN adapter to choose.

NOTE: If your size is not listed on our website, a radiator water neck can be reduced in size approximately .040" and most water pumps can be reduced in size .050" or more. A file and emery cloth works well to reduce the size, but the method is up to you. Reduce it between the bead and radiator/pump. Adapters can also be installed on water necks that are up to .015" under the listed size.
-
Download and print the appropriate adapters from the template page using your measurements. Transfer them onto poster board for a stiffer template .
DO NOT use the templates to determine the O.D size to order.
-
Download and print a straight, 45° or 90° swivel thermostat housing that suits your engine brand from the template page.
NOTE: Any angle hose end can be connected directly to a straight thermostat housing if that better suits your application. AutoPlumb AN Adapters can be used on your stock thermostat housing if we do not have a housing for your brand.
-
Download and print the hose ends you think will best suit your configuration from the template page.
NOTE: -20AN Full Flow hose ends are only available in straight, 30°, 45°, 60°, and 90°. -20AN standard hose ends are available in straight, 30°, 60°, 90°, 120°, 150°, and 180° if additional angles are needed. Both full flow and standard will provide adequate flow for cooling. -16AN Full Flow hose ends are available in all the angles listed above.
-
Mix and match the various angles until you get the hose end templates to align with one another.

Always take your time with this step. While the hose does bend (refer to the template), do not rely on the hose to make the bend for you.
-
Measure the distance between the hose ends to determine the length of hose you need.

Taping the templates or having assistance holding the templates makes this step easier. Always give yourself extra hose in case of errors or if a bend is needed.
Choosing between -16AN and -20AN:
- -16AN or -20AN hose will provide enough flow for cooling given you have adequate air flow along with a properly sized water pump, radiator, fans, and shroud.
- Available space, appearance and cost are the determining factors. Use the mock up templates to determine which size best fits your application.
- -20AN is most preferred for full size street machines based on looks.
-
-16AN is well suited for drag cars, imports, and smaller engine vehicles.
Installation Tips:
- Once you receive your parts, carefully mock your system up using your new components.
- Configuring, purchasing, and installing the upper part of the system first can clarify how to go about the lower. In many cases the lower requires working in much tighter spaces and the experience gained from the upper installation can be valuable.
- Try not to create an S type of bend in the hose. Produce an outside radius in your routing when possible.
- Temporarily install all components to determine hose length and clearances.
- Place the hose over or under the hose ends when determining the final length of hose. Placing it on the inside or outside of the radius will cause the hose to be too short or too long once cut.
- When connecting a hose between two points, the connection on one end must enter at an angle to facilitate the starting of the threads. Connecting between two points that are in a straight line with each other requires a long enough length of hose that will flex/bend back to start the threads of the second end.
-
On an LS, the entire hose assembly with the thermostat housing can be attached with the two thermostat bolts.
- Take care not to damage your new parts. You can return any unused and undamaged items in the event something is not correct.
- If any questions or issues arise during installation, please stop and give us a call. We will be happy to help.


